
Friday, November 2, 2012
Pumpkin Pie Milkshake
I have to share this because ever since last year when I tried it, it has become my new favorite milkshake. I ordered a pumpkin milkshake from an ice cream place recently and I was so disappointed because it wasn't nearly as good as this one. It is from LDS Living and it is amazing! Find it here, 3rd recipe down. I don't use the graham crackers.


Wednesday, September 26, 2012
Taking Notes Adult Skirt

After making this skirt for Brynn it was time to make one for myself. Here is a link to the tutorial. It turned out so cute and I love the fabric I found. It is classy yet kind of original I think. I love the deep mustard yellow with the so dark brown that you could probably pull off a black top too.


Wednesday, September 19, 2012
$1 Shirt


I liked that with this neckline, I didn't have to wear an undershirt. My favorite part of her design was how she gathered the side. It looks cute (ignore the thread I hadn't cut yet):

For a buck and a new shirt it isn't too shabby!
Tuesday, September 11, 2012
Shirt, Skirt and Headband Flower

The shirt I made my own pattern but it is super hard to get her arms through, so I'm not going to post a tutorial on it. I will try adding a side zipper and see if that works because the shirt turned out so cute!
I will post a tutorial on the flower soon.


sdfs
Thursday, August 30, 2012
Sheered Dress

I love how sheering looks and I had to make a dress with it. Here is the final outcome and steps for how to make your own!
What you need:
~1 yard fabric
Thread
Elastic thread
Bias Tape
1 large button
Trim (Optional)
1. Cut out pattern pieces.
Pattern Page 1
Pattern Page 2


2.Put bodice front and back, right sides together. Match up shoulders and side seams, sew them up.
3. Take one sleeve at a time fold it in half, so right sides are together, sew up seam.

Iron up the edge of sleeve (the part that doesn't attach to bodice) to get rid of unfinished edge. If you want to add trim watch this short video:


4. Sew a gathering thread across top part of sleeve (that attaches to bodice) and pull until it is same size as arm hole in bodice:


Now you have this:


6. Attach bias tape all around neck line and around the cut you just made. Watch this:


8. For skirt, sew up side seam. Finish off bottom hem. I added trim to this part. Watch video for sleeve trim if you need to see it again. Don't forget to top stitch!


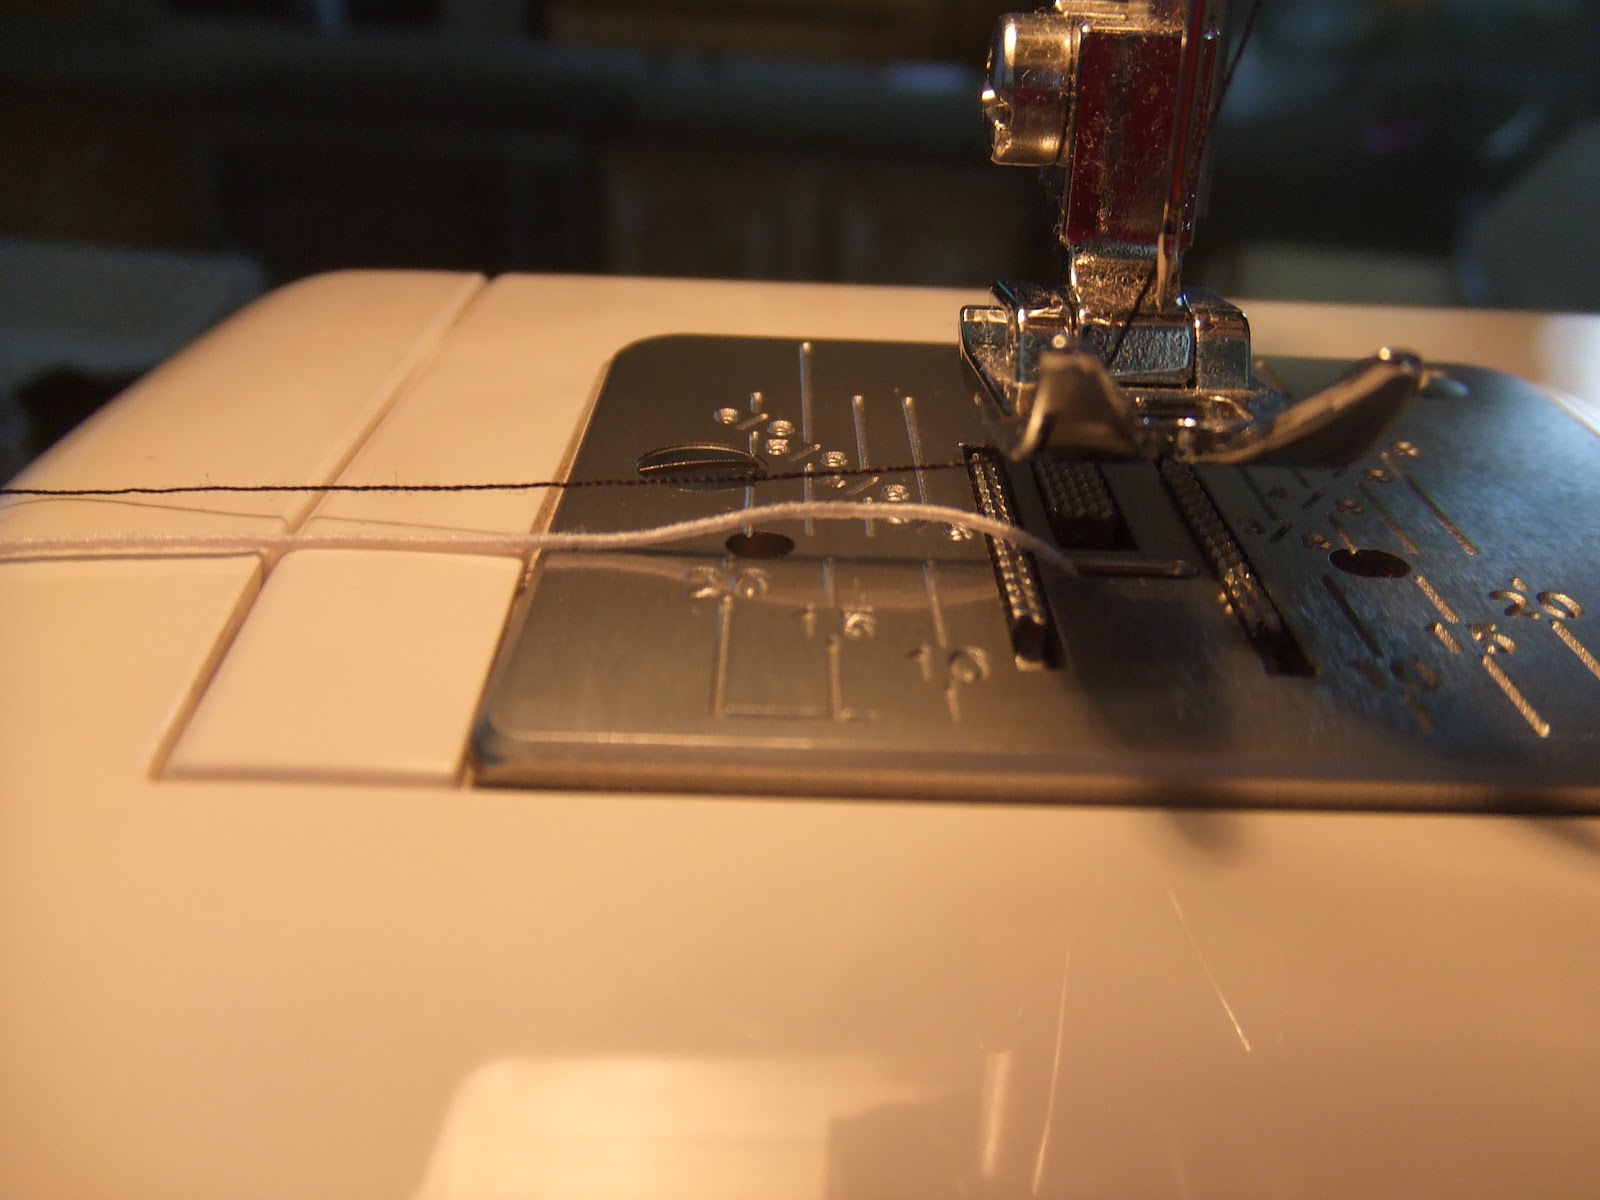
If you want to add trim to the middle, like I did, add it now. You can just baste it on.


11. If you want to embellish with a flower like I did, I did a basting stitch on the flat side of the trim, pulled it into circles, and sewed it together, adding a blingy button in the middle. I sewed it onto the dress and added a little fabric glue to get it to lay just how I wanted it.

Also, the black and white dress is for 18 months and my daughter is only about 13 months in the picture (that's why the dress is a little big--wanted her to grow into it). The purple dress is 12 months (that's why it fits so much better).


Thursday, August 23, 2012
All Over the Piano
I decided to take music off of this blog and just leave that to my new revamped site for my music. Check it out:

Monday, August 20, 2012
Unbroken

Our book group just read this AMAZING book. It is a non fiction story of a WW2 POW. What I like about it, is that it reads like a fiction novel--so gripping. The whole time you are reading it you can't believe this stuff really happened. Who knew one man could experience so many miracles in a lifetime? Every book group should read this! Lots of good discussion.
We weren't in charge of the games this time but I got a hold of the games we used and here they are.
For refreshments pie was served. Louie, the main character steals pies when he was a kid. You can either serve pie or rice balls...or shark liver. I'll let you pick!
Subscribe to:
Posts (Atom)